It is truly a challenging task to produce an item using FDM 3D Printing.
3D Printers (SLA or FDM 3D Printing) have unexpected time impacts; cleanup, smoothing, hardening, drying and support removal (pulling, splitting, cutting, sanding, filing).
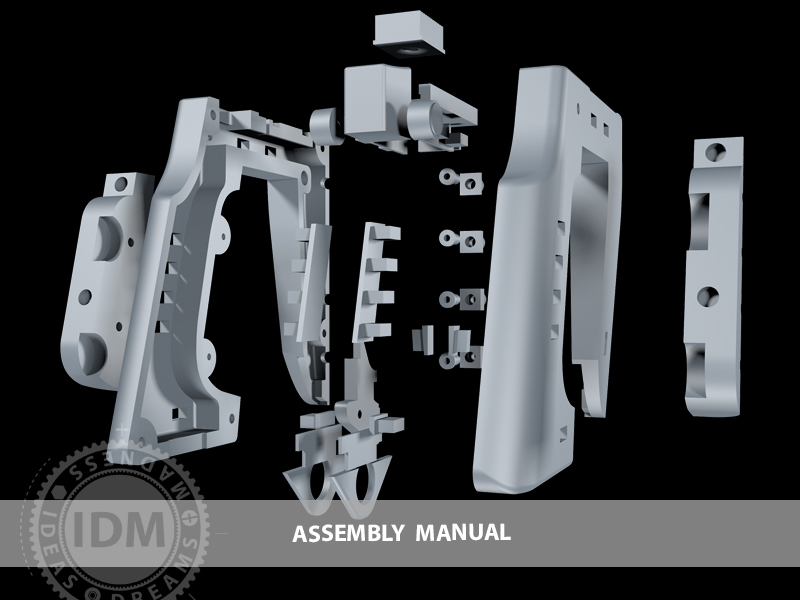
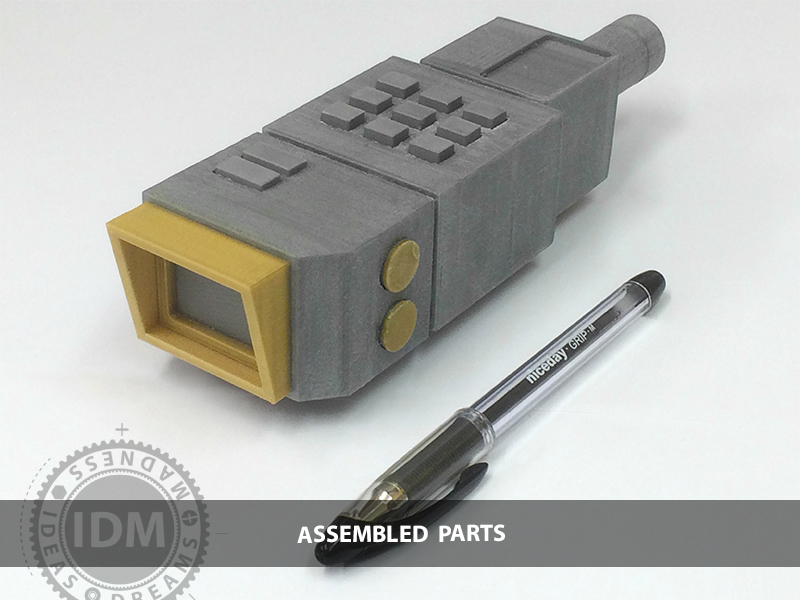
 Space: 1999 COMM LOCK & STUN GUN KITs 3D Printing Service by IDM Imagineering
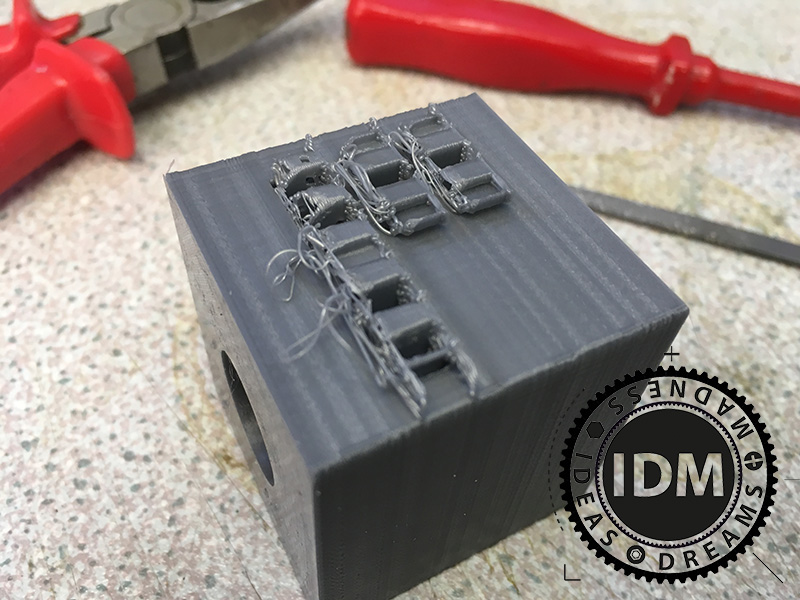
I get so excited when a nice print comes out, then I am faced with having to spend another 10% to 50% more time cleaning the prints up (removing support) for our customers.
No matter how hard I try, there are always parts of a 3D Model KIT that require support layers, somewhere …
As soon as you conquer the issues of bed adhesion, layer separation, curling, rafts, support density, surface finish or resolution another issue pops it’s head up; temperatures, filament properties, mechanical changes on the printers, power-cuts or just gremlins who clog your nozzles or tie knots in your filament reels.
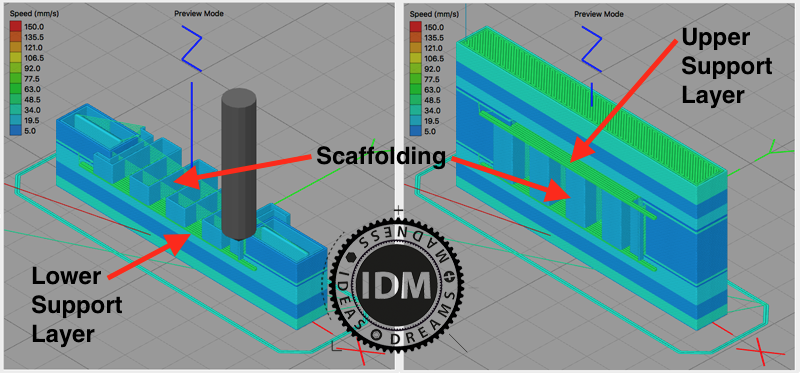
So without whining too much 🙂 and honestly for information, support and discussion … here is one facet of FDM 3D Printing that I would like to illustrate: Upper and Lower Support Layers
Printers: Flash Forge Creator Pro’s 2014, 2015, 2016
Software: Simplify3D v3.x
Filament: 3DPrintWorks PLA
Beds: Aluminium or Glass using Masking Tape or HairSpray
s3D Printer Supports and Layers in layman terms:
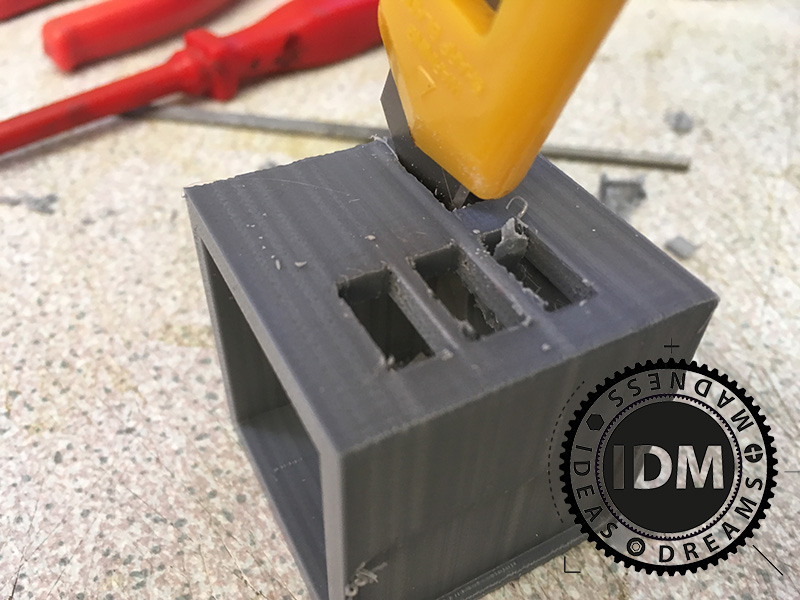
Upper and Lower Support Layers are to aid in bridging, over gaps, holes and spaces. Essentially the 3D printer lays down filament like scaffolding, then puts boards over these spaces to make a more solid and supporting surface platform, and then lays down the models main body of filament an air-gap thickness over the top of these boards, thereby letting that air gap cool the filament as it is laid down so the 3D Printer filament does not stick to the boards and thereby allowing easy removal of the scaffold and boards when all is cooled down.
Note: Support Spacing is important.
- Too much scaffold space and the boards sag.
- Too many boards and it’s harder work to deconstruct all this.
- Too few boards and they warp, up or down.
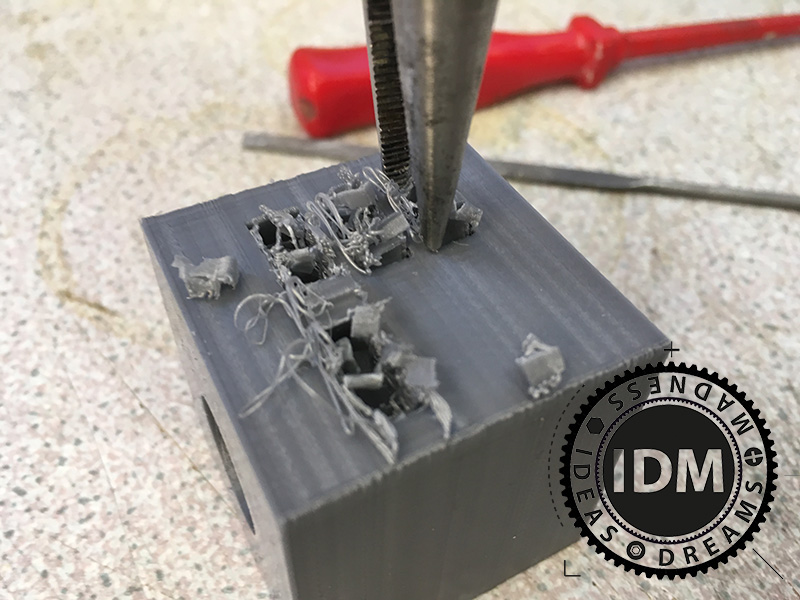
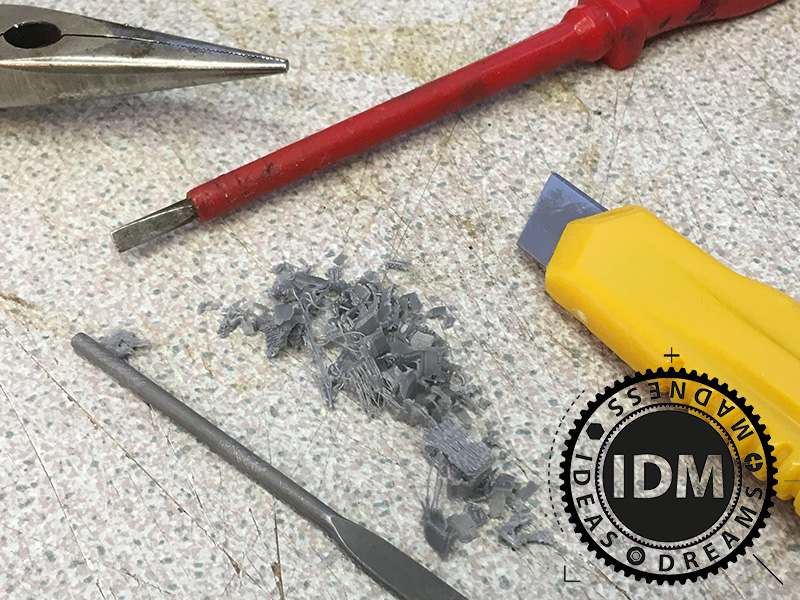
Note: Support Removal.
- Let your prints cool way down.
- The cooler they are the more brittle and slightly retract, contracted, shrunk the supports become making them a bit easier to remove from the more solid, harder and less affected body.
- It may take a few days to get the best coolness, dryness brittleness … after the heat and fusion and catalysing effect of 3D Printing in the Filament.
You will find that the Upper sky-wards facing Vertical Separation layer setup will work quite well based on your experiments (keep a good record of all your prototype settings tests) until you find a setting that suits your 3D Printer, your Filament makes and your Workshop environment… everyone may be different! so copy settings and improve.
Our challenge was the Lower ground-facing Vertical Separation layer.
Here I found that less layers worked best … about 50% less. I think gravity on the filament due to the filaments softness from heat, sag, movement, etc was the impact/issue… the filament fell onto the body thereby reducing any air-gap and the filament then fused on more-so that the Upper sky-wards facing Vertical Separation layer. ?
Here are some photo’s to illustrate the above theory and processes.
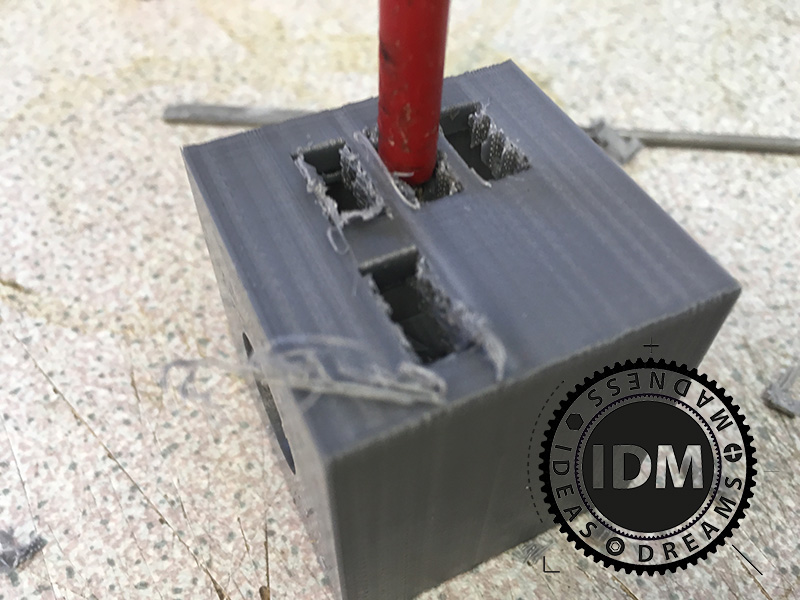
![3D Print Support material - Step 4, using files to cleanup the lower [ground-facing] support layers of 3D Print support.](https://www.idmimagineering.co.uk/wp-content/uploads/2017/01/2017-01-05-11.03.54.jpg)
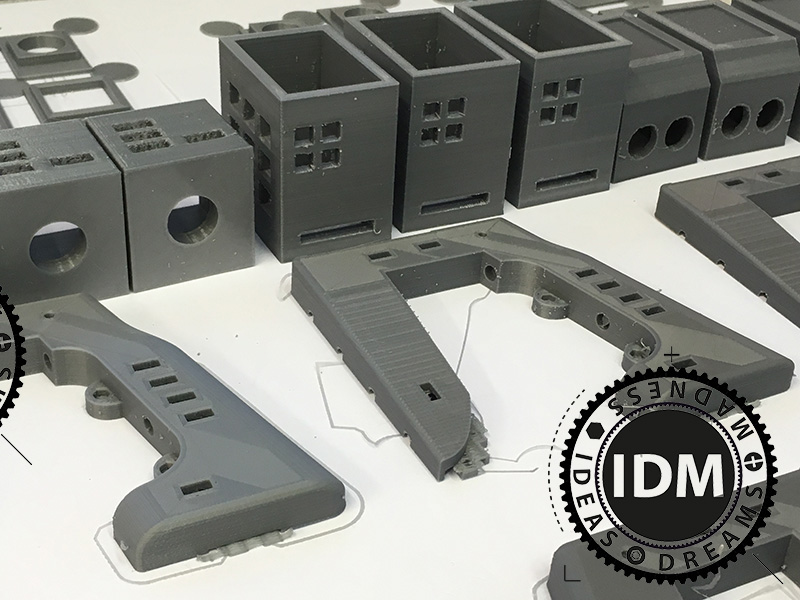
Luckily, the need for supports is usually to do with internal or side-facing surfaces that are not (so) visible. The occasional external or downward facing surface that requires 3D Print Support (even after lengthy consideration of the 3d Print Model creation i9n CAD or the best 3D Print orientation) come out fine for the traditional Prop, COSplay or Model Making processes of filling or even are good enough to be covered by a few coats of primer filler undercoat paint 🙂
It is always good to get another viewpoint, more technical or just visual, so read these too:
Simplify3D: Tip of the Day 21 – Support tab, a technical analysis
Richard Gain: Simplify3D Support Removal
James [maker] IDM Imagineering


